This tutorial will help you to assign a domain name with encryption to ec2 with step by step guide
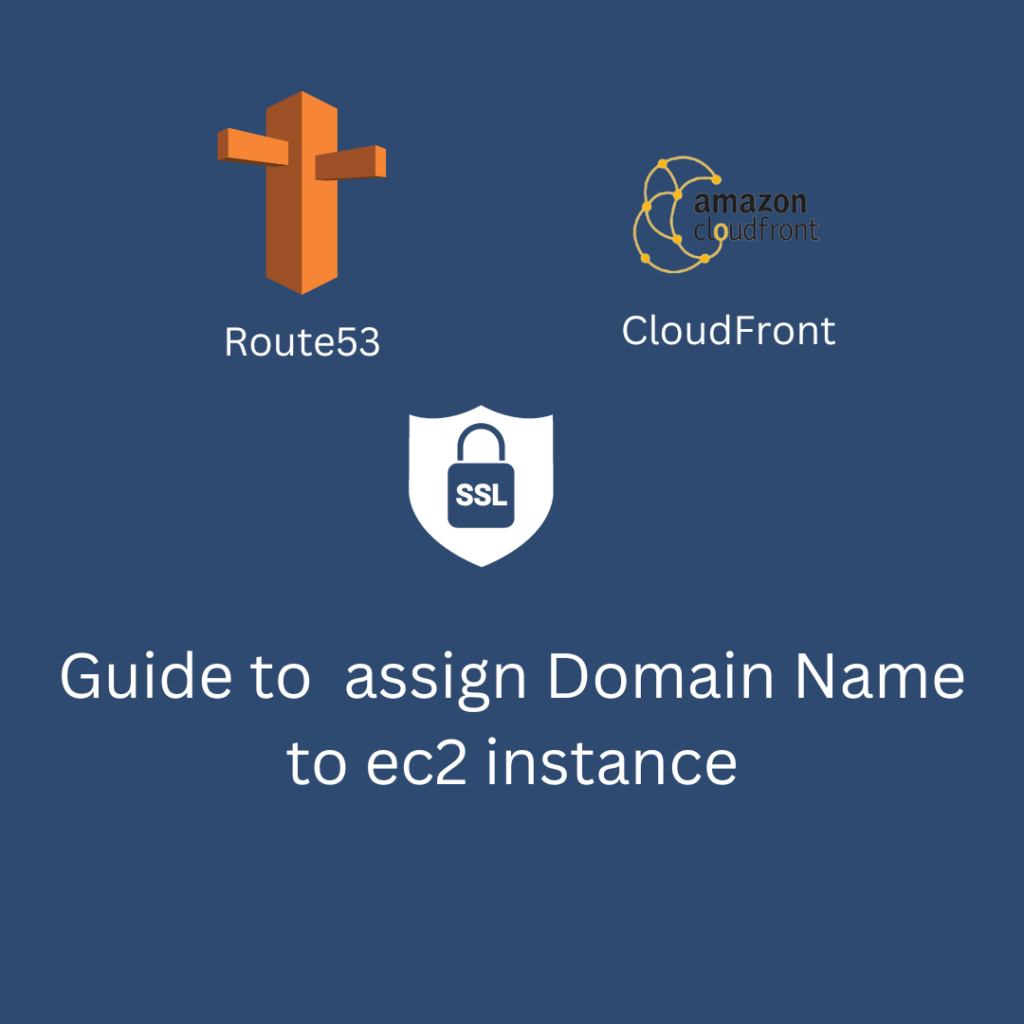
How you can assign a domain name to the ec2 server with encryption?
You can also read my previous blog related to deploying the MERN application on AWS.
This article has two parts
- Setup the domain name
- Securing the domain name with SSL encryption
General overview of the domain setup in AWS
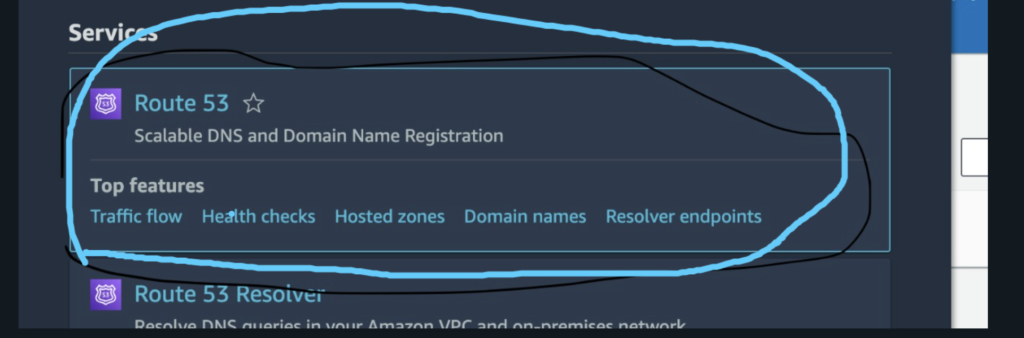
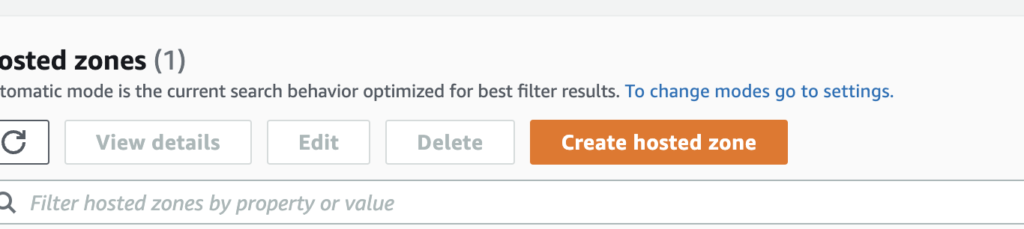
- Go to AWS route53 service
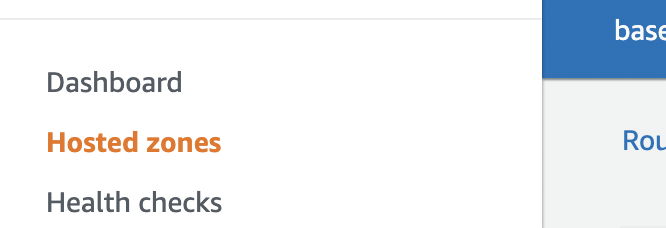
- Select hosted zones
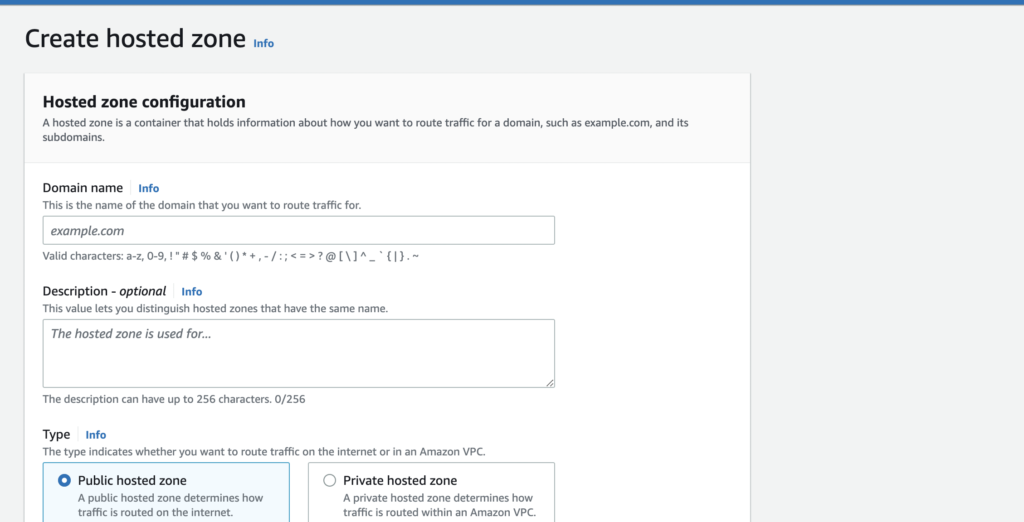
- Create a new hosted zone
- Enter your domain name like ( yourdomainname.com) and then click on create a new record button
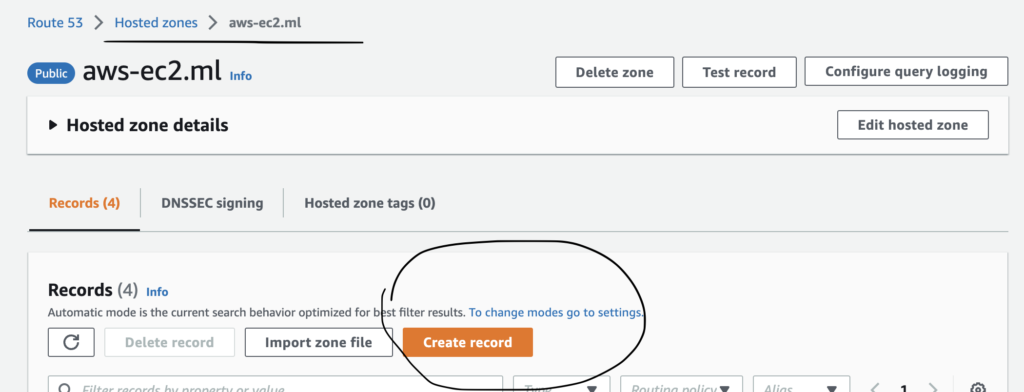
- Now again visit hosted zone home page and there you will see your domain. Click on it and then create a new record
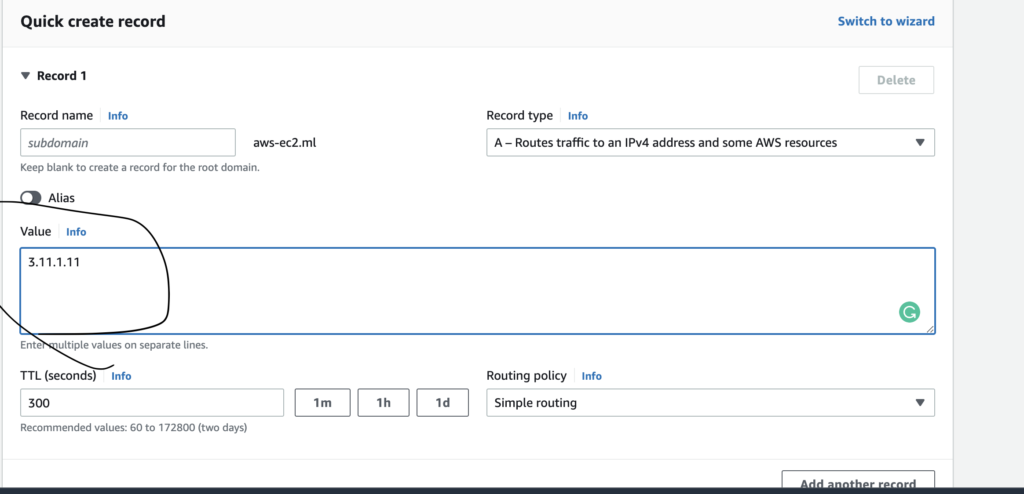
- Add your ec2 ipaddress in the box and save it ( by clicking on the new record button )
- After creating the record, select nameserver and change the name server of your domain ( explained in more detail below. Check it there )
- Done
Detail Explanation to assign domain name to the ec2 instance
- Go to the AWS Route53 service
2. Select a hosted zone
3. Create a new hosted zone
4. Enter your domain name like ( yourdomainname.com )
5. Now again visit hosted zone home page and there you will see your domain. Click on it and then create a new record
2 images attached

6. Add your ec2 ipaddress in the box
7. After creating the record, select nameserver and change the name server of your domain ( explained in more detail below. Check it there )
Your name server ( don’t put (dot . ) at the end of the domain and if the dot is present then remove it
On AWS dot is present at the end of the domain like
ns-1100.awsdns-09.org(.)remove that dot and your original nameserver name is
ns-1100.awsdns-09.org
Now go to your domain provider and click on manage DNS after it click on change nameserver and pastes all of the nameserver URL in the fields
8. Done
After following all the steps, you can wait 2-3 minutes, and then you can open your URL. Your website will be live now. If you don’t see the updated website then wait 1-2 hours because your cache is causing the problem
Optional
You can also add www CNAME in your domain name
steps
- Select your domain present in hosted zone and then you will see lots of records
- Click on a new record
- In the subdomain section, write www, and in the route type select CNAME
- Enter your domain name in the big section and then save it.
How to assign SSL to the domain name on Route53
Steps to generate a certificate in AWS
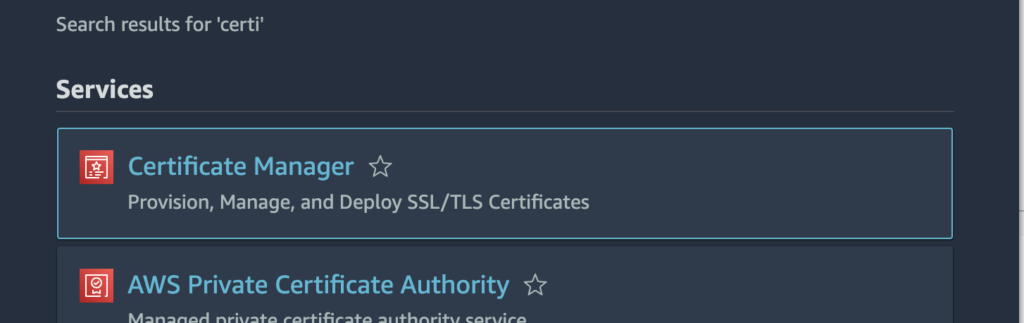
1- Visit the Certificate Manager page by searching it
2- Steps to issue a certificate
Before creating the certificate please make sure you are using the N-virginia server instead of Global or any another location
- Click on the request certificate button
- request a public certificate
- Enter your domain name like
yourdomainname.comand one more record for all subdomains like*.yourdomainname.com
3- Domain verification to issue a certificate
Steps
- Next, to verify your domain, open route53, open hosted zones, select domain and then create new record
- In the subdomain section enter the CNAME name value, select CNAME in the dropdown, and then enter the CNAME value in the big text
- Again create a new record and in the subdomain write ( * ), select CNAME in the dropdown, and then enter the CNAME value in the big text
Steps to assign Certificate to the domain name in AWS
In order to assign a certificate to the domain name, we will use CloudFront.
Steps
- Visit CloudFront
- Create new distribution
- In the origin domain, enter your ec2 public address which you can get (picture is attached

- In protocol section, select only HTTP
- In Viewer section, select on redirect HTTP to HTTPS
- In Allow HTTP methods, select GET, HEAD, OPTIONS, PUT, POST, PATCH, DELETE
- Enter the alternate domain name ( yourdomainname.com and *.yourdomainname.com )

- In Custom SSL, select your custom certificate
if your certificate is not visible, create a new one and select location N-Virginia – us-east-1 during certificate creation
Now our CloudFront part is completed. Only the last step is required in route53 to complete the encryption setup
Before visiting the route53, make sure your new distribution status will not be deploying
- Visit route53 and edit the record which is pointing toward the IP of your ec2 instance
- allow alias
- Search Cloud front and select it
- In choose distribution field, choose your distribution which was created specifically to encrypt the particular domain
- and then update the record.
Wait 3-5 mins to setup everything up. After it, you will see encryption on your website.
If you still facing the problem, you can reach out to me, I will help you to solve your problem. Thanks